Why bokeh matters—and what your phone can (and can’t) do
You’ve seen it: a face or flower looks crisp, while the background melts away. That blur isn’t just “pretty”—it’s a practical way to guide attention, hide clutter, and make a small scene feel intentional. On most phones, you can get that look in two different ways. One is real optical blur, which happens naturally in close-ups (especially with longer lenses) when your subject is near and the background is far. The other is computational blur (Portrait mode), where the phone guesses what’s foreground and fakes depth.
Real blur looks smooth but needs the right distances and enough light to keep your subject sharp. Portrait mode works in more situations, but it can struggle with hair, glasses, hands, and busy edges, and it may smear fine detail or blur the wrong plane. Treat it like a tool with limits: it can save a shot, but it won’t fix weak lighting, flat backgrounds, or a subject that’s too close to the backdrop.
Find the light and background that make blur believable
Think about the last time Portrait mode looked “off.” It usually wasn’t the blur amount—it was the light and the background texture. Flat indoor light makes edges harder to separate, and harsh midday sun creates sharp shadow lines that confuse depth and make skin look crunchy. Aim for soft, directional light: open shade, a bright window from the side, or late-afternoon sun hitting your subject while the background stays darker.
Then simplify what’s behind them. Busy patterns (leaves, chain-link fences, signage) turn into messy, nervous blur and make cutout artifacts obvious around hair and shoulders. Look for backgrounds with larger shapes and gentle contrast—distant trees, a plain wall, a row of lights far away. If you can’t change locations, rotate your angle until the background becomes darker, farther, or less detailed. Your phone will “believe” the depth more when the scene already reads like depth.
Distance is your biggest lever: subject, camera, background
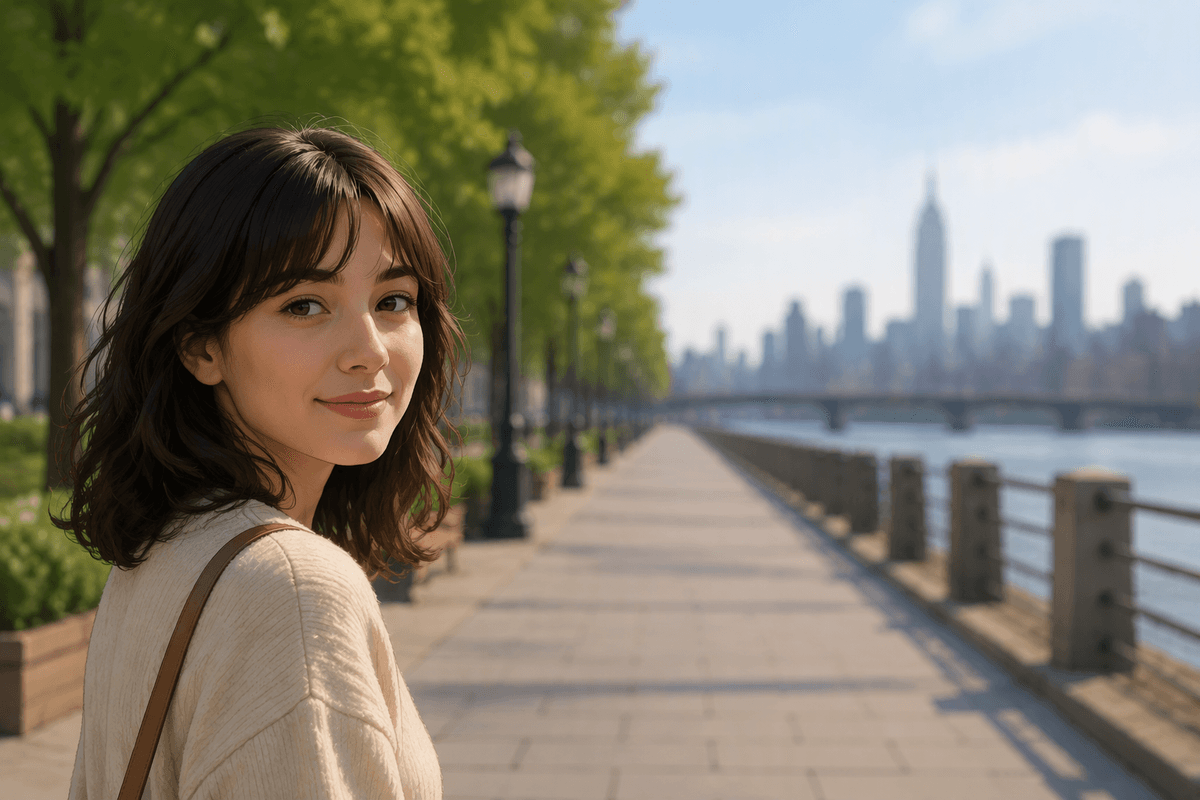
Most “bokeh problems” on a phone are really distance problems. Start with a simple move: pull your subject away from the background. If they’re standing right in front of a wall, you’ll get a smeared wall, not separation. Give them space—several steps is often enough—so the background has room to fall out of focus (or for Portrait mode to read depth cleanly).
Then bring your camera closer, within reason. The closer you are (especially for a head-and-shoulders portrait), the easier it is to get natural blur and the less your phone has to fake it. Just don’t get so close that faces distort or your lens can’t focus. Finally, watch the background distance relative to your subject distance: a person 3 feet from you and 15 feet from the background will look more “pro” than a person 8 feet from you and 9 feet from the background—even if you use the same mode.
Which lens and mode to use on your phone
You’ll usually get the most natural-looking blur by using the longest “real” lens your phone has (often 2x/3x). It compresses the background a bit, keeps faces looking normal, and gives you more optical blur before software steps in. The trade-off is light: those longer lenses tend to be slower and noisier indoors, and many phones quietly switch back to the main camera and crop when it’s dim. If you see detail suddenly get softer or grainier, assume you’re not on the true tele lens anymore.
Use the main 1x lens when light is limited or you need reliability, then create separation with distance instead of maxing out blur. Save the ultrawide for environmental shots; it makes backgrounds look farther away but also reduces blur and can distort faces up close. Portrait mode is best when edges are simple and the background has some distance; for close-ups of objects, try your phone’s macro/close-focus mode instead of Portrait mode, since real optical falloff often looks cleaner.
Make portrait mode look less like a cutout
Portrait mode usually looks fake for one reason: the depth map is wrong at the edges. Give the phone an easier outline to separate by avoiding “busy edge” situations—windy hair, hands half in front of the body, a strap crossing a shoulder, or a subject pressed against a high-contrast background. Have your subject turn slightly so one clean cheek/shoulder line faces the camera, and keep small flyaway hairs tucked back if you can. If glasses cause weird blur around the frames, tilt them a touch or shift your shooting angle so the background behind the glasses isn’t bright and detailed.
Then back off the blur strength. Most portrait apps let you change aperture/blur after the shot; pull it down until the transition from sharp to soft is gradual, especially around ears and hair. Tap to focus on the nearest eye, hold steady for a half-second, and take two or three frames—depth errors vary shot to shot. The practical downside is time: portrait mode needs steadiness and a cooperative subject, so rapid, candid moments are harder to nail.
Compose for bokeh: shape, highlights, and depth cues
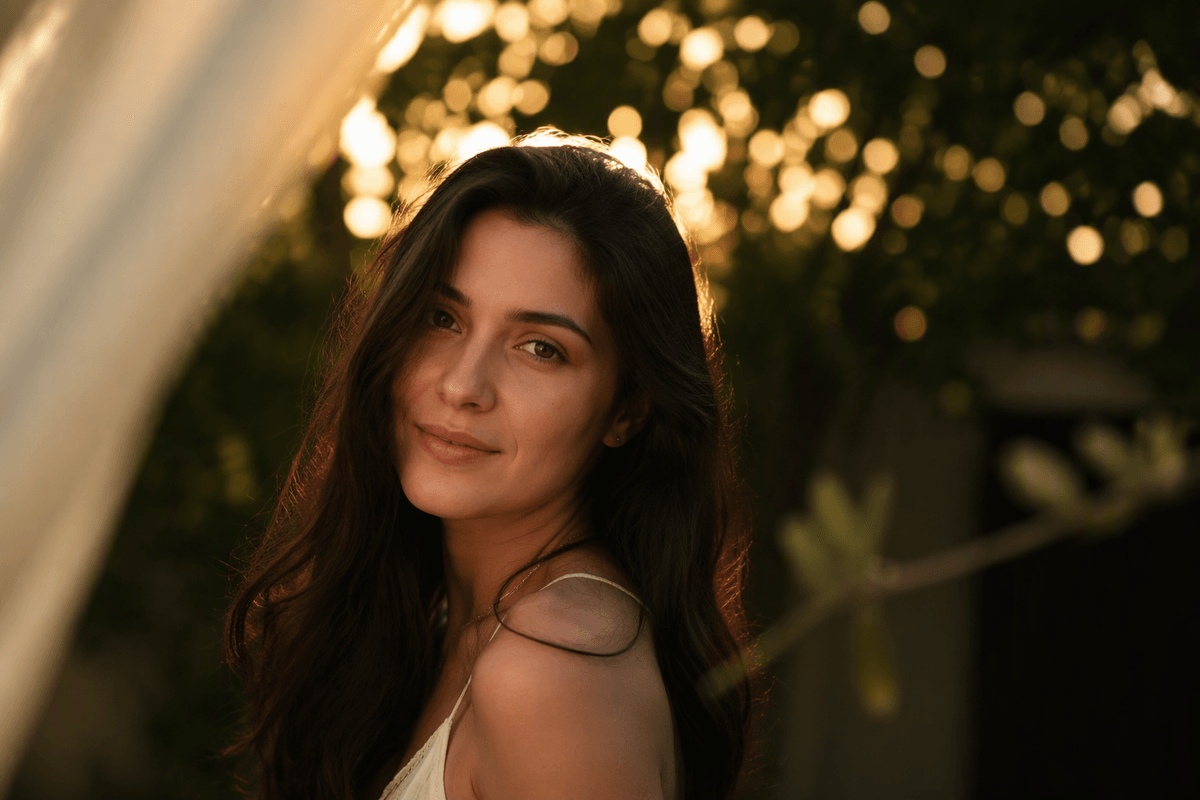
You can make phone bokeh feel more “lens-like” just by composing for what blur does well. Scan the frame for small bright points—string lights, sun through leaves, reflections on water, shiny kitchen objects. Put those behind your subject, far enough back, and they’ll turn into soft discs or blobs that read as depth. If the highlights are too big or too close, they become distracting smears, and Portrait mode may clip them into odd shapes.
Give the viewer depth cues the phone can’t fake: overlap (a shoulder in front of a darker background), a foreground element close to the lens (a plant edge, doorway, curtain), and a background that gets gradually darker or simpler. Keep the sharpest part of the subject clean and centered in the depth plane—usually the nearest eye—while letting hair, hands, and clothing edges fall against quieter areas. The constraint is space: in tight rooms, you may need to change angles or lower blur strength because you can’t push the background far enough away.
Quick shooting checklist and simple edits that seal the look
You’re about to press the shutter, so run a quick mental checklist: longest real lens you can, clean background with a few steps of distance, soft side light, and focus on the nearest eye. Keep the subject still for a beat, brace your hands, and shoot a short burst so you can pick the frame with the best edge. If Portrait mode is involved, don’t crank blur—leave it slightly conservative.
In edits, do three small moves: lower the blur/aperture until hair and ears transition naturally, lift shadows on the face a touch (not the background), and add a little contrast or clarity only to the subject. Watch for halos; if you see them, back off sharpening and blur strength.