What “split screen” can mean on a MacBook Air
On a MacBook Air, “split screen” can mean a few different things, and that’s where most confusion starts. The most literal version is Split View, where two apps snap side-by-side and macOS treats them as a paired workspace. Some people also mean simply resizing two windows so they share the screen, or using newer window tiling so they snap into halves without going fully full-screen. The right choice depends on what you’re doing: writing while referencing a PDF, comparing spreadsheets, or keeping chat visible during a call. The trade-off is space—on smaller screens, two apps can feel cramped fast.
Check your macOS version and window setup first
You’ve probably had the moment where you hover a window button and nothing “split” shows up, or the window refuses to cooperate. Before you assume it’s you, check two basics: your macOS version and the kind of window you’re trying to split. Newer macOS releases add window tiling options, but Split View itself has been around for years—so if your MacBook Air is fully updated, you’re usually covered.
What trips people up is the window. Split View won’t engage with some apps, certain dialog boxes, or “fixed” windows that can’t be resized. If an app is already full-screen, minimized, or stuck in a small floating panel, the tiling controls may not appear. Also note the practical constraint: on a 13-inch Air, some apps need a wider minimum width, so macOS may limit how narrow you can make each side.
Use Split View: the quickest built‑in side‑by‑side method
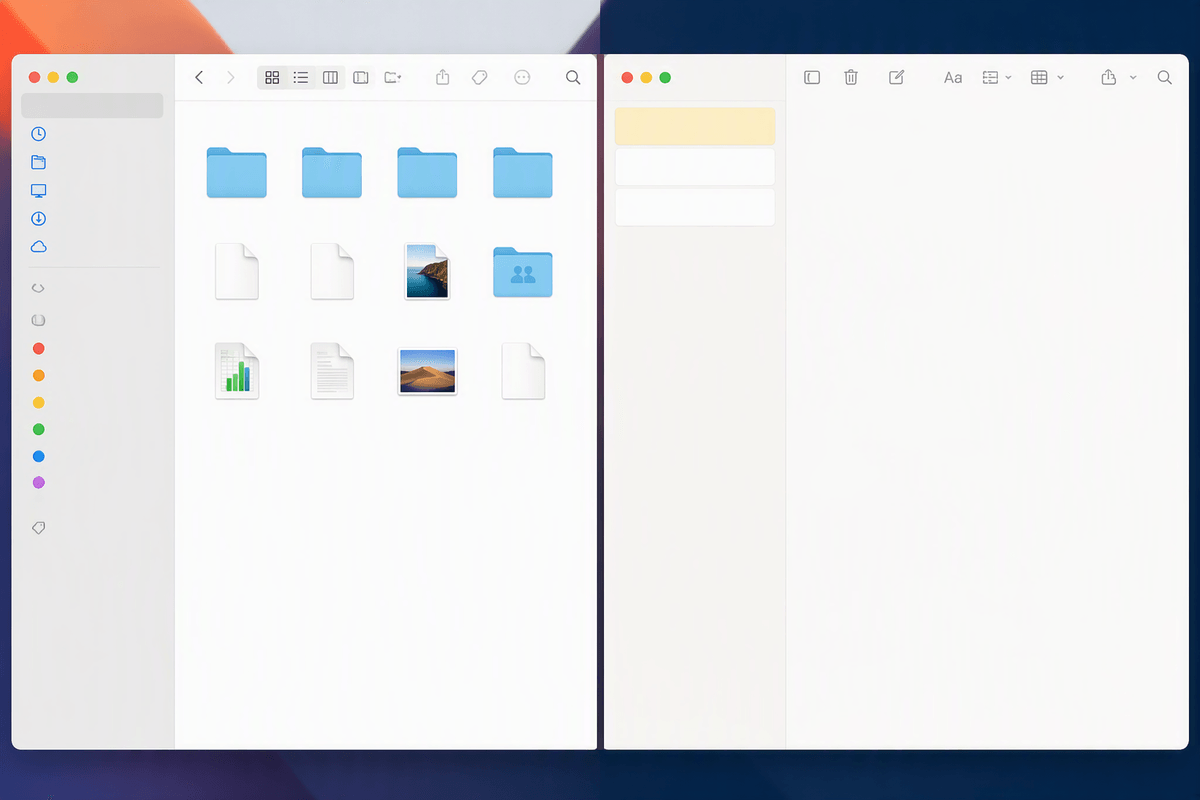
You’re usually one gesture away from Split View: take any normal app window and hover over the green full-screen button in the top-left corner. A small menu appears with options to tile the window to the left or right side of the screen. Click one, and macOS will slide your current desktop aside and show your other open windows on the opposite side so you can choose what pairs with it. Pick the second app, and you’ll land in a clean two‑pane workspace that stays together while you work.
If you don’t see the tile options, slow down and hover for a beat (or click-and-hold) rather than just clicking the green button. Also make sure you’re working with a “real” window, not a pop-up, a Save dialog, or a narrow utility panel. One practical downside: Split View makes both apps share one full-screen space, which can feel restrictive if you’re frequently dragging files in from the desktop or referencing more than two windows at once.
Resize, swap sides, and exit without losing your place
Once you’re in Split View, you can adjust how much space each app gets by moving your pointer to the vertical divider between them. When the cursor turns into a resize handle, drag left or right to give one side more room. Don’t expect perfect 50/50 control: some apps have a minimum width, so the divider may “stop” sooner than you want, especially on a 13-inch MacBook Air.
If the apps are on the wrong sides, you don’t need to start over. Grab the top of a window (near its title area) and drag it across the divider; macOS will swap the left and right panes. To exit without losing your place, use the green button on either window and choose to leave full screen, or press Control–Command–F. Both apps return to normal windows on your desktop, typically still sized and positioned close to how you were using them.
When Split View isn’t enough: Stage Manager, desktops, and thirds
You’ll hit the ceiling with Split View the moment you need a third thing on screen—messages, notes, a calendar—or you need to drag files between windows without feeling “locked” into a full-screen pair. If you want two main windows plus a quick-access stack, Stage Manager can work well: keep your primary app front and center, pin a second window beside it, and leave supporting apps as one-click groups on the left. The trade-off is space on a MacBook Air display; the Stage Manager strip can make your working area feel tighter.
For a cleaner mental split, use multiple desktops (Spaces). Put your “writing + reference” Split View on one desktop, then swipe left or right with three/four fingers to a second desktop for email and chat. When you need thirds without extra features, skip Split View and manually tile: drag one window to the left edge and another to the right, then size a third window to sit over a corner (useful for a small music player or chat). It’s not perfectly precise, but it’s fast and flexible.
Keyboard shortcuts and trackpad gestures that speed it up
You’ll move faster if you stop “hunting” for the green button every time. The universal shortcut is Control–Command–F to enter or exit full screen, which also helps you bail out of Split View quickly without rearranging everything. For navigation, Mission Control (Control–Up Arrow) is the quickest way to see your Split View space alongside other desktops, then click to jump where you want. If you use multiple desktops, Control–Left/Right Arrow moves between Spaces without needing the trackpad.
On a MacBook Air trackpad, three- or four-finger swipes left and right are the habit that makes Split View feel effortless: one swipe to your “email/chat” desktop, one swipe back to your paired work apps. Two practical constraints: these gestures require Trackpad settings to be enabled, and if you’re on a call or screen sharing, accidental swipes can be distracting—so slow down when you’re presenting.
Common problems: missing tile option, weird sizing, external displays
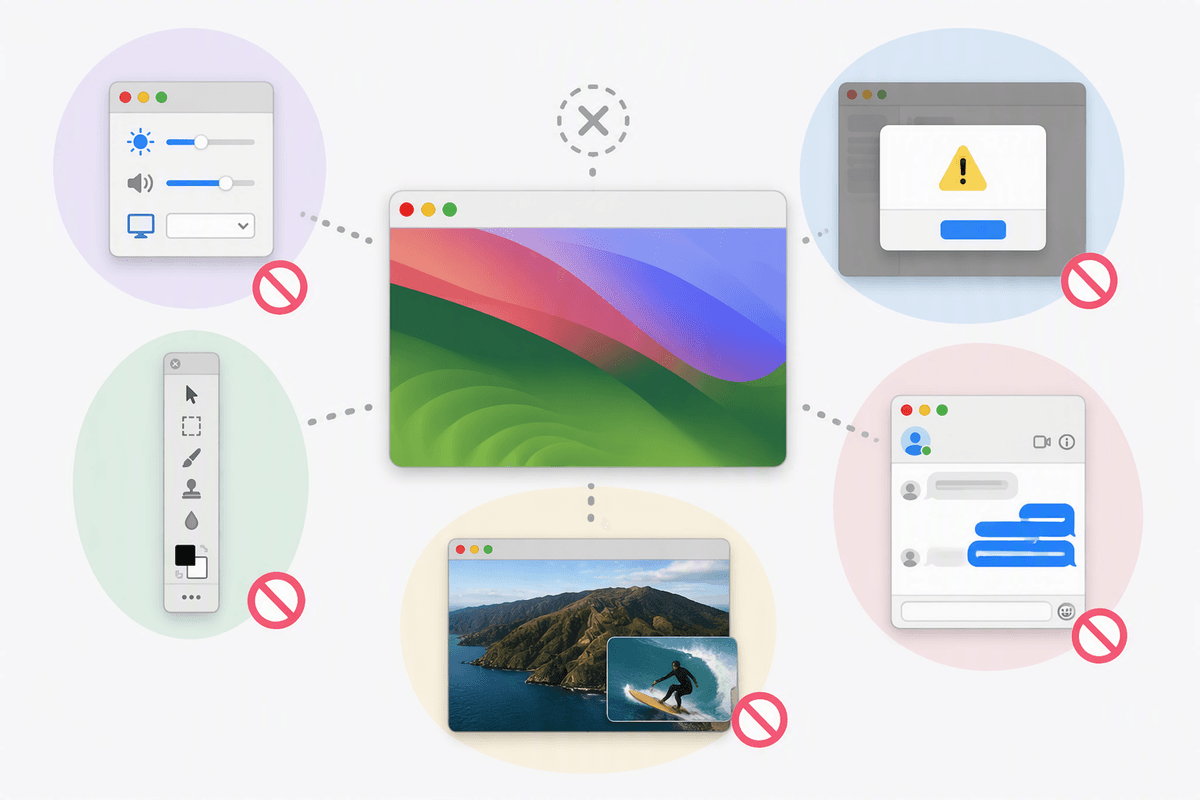
You hover the green button and the “Tile Window” option is missing. The usual causes are simple: the app can’t be resized (common with small utility windows), you’re clicking a dialog (Save/Open), or you’re in a special mode like a floating panel. Try grabbing the app’s main document window instead, then click-and-hold the green button for a moment. If you’re using a web app in a browser, make sure it’s a normal tabbed window—not a picture-in-picture player or a “pop-out” chat window.
Weird sizing is usually an app minimum width issue, not a bug. Some apps won’t allow a true half-and-half split on a 13-inch MacBook Air, so the divider stops early or one side becomes narrow and awkward. If the layout feels cramped, exit Split View and use regular tiling so you can overlap slightly or keep one window smaller. With external displays, check which screen is set as your main display in System Settings, because Split View pairs windows per display, and dragging a window between monitors can break the pairing until you re-tile on the target screen.
A simple workflow to choose the right split-screen setup
You’re usually choosing between speed, flexibility, and space. If you just need two apps focused—notes + PDF, doc + browser—use Split View and resize the divider until both are usable. If you need a third window or frequent file dragging, stay in normal windows and use tiling (or manual sizing) so you can overlap and grab things from the desktop. If the same two-app pair is something you return to all day, put it in Split View on one desktop, then keep email/chat on a second desktop and swipe between them. When it feels cramped, that’s your cue to stop forcing halves.