When “random” crashes point to a memory issue
“Random” crashes often aren’t random at all. If Windows blue-screens with different error codes each time, apps close without a clear pattern, or a simple task (like opening a browser) sometimes works and sometimes doesn’t, unstable memory is a common root cause. Bad RAM can corrupt data in transit, so the symptom changes depending on what part of memory gets hit.
A big clue is inconsistency: the same program fails in different ways, Windows installs or updates won’t complete, or files you just downloaded report errors even after retrying. Heat and heavy multitasking can make it show up more, which is why the PC may feel “fine” in the morning and fall apart later. The tricky part is that storage, drivers, and overclocking can look similar, so you want a few quick checks before blaming the sticks.
Common signs Windows is struggling with bad RAM

You’ll usually see memory trouble as “everything is a little unreliable,” not one clean, repeatable failure. Blue screens that rotate through different stop codes are common, but so are sudden reboots, freezes that force a hard power-off, and apps crashing with generic messages (or no message at all). If you get “Memory Management,” “IRQL_NOT_LESS_OR_EQUAL,” or “PAGE_FAULT_IN_NONPAGED_AREA” at different times, that’s worth taking seriously—especially when nothing else changed.
Look for errors that shouldn’t happen on a healthy system: ZIP files that fail to extract, installers that report corrupted files, browser tabs that crash on ordinary sites, or documents that won’t save and then work fine after a restart. You may also notice Windows getting unstable under load—gaming, lots of tabs, video calls—because more RAM is being used. The limitation is that drivers and a failing SSD can mimic these symptoms, so you’re collecting clues, not declaring a verdict yet.
Quick checks before you run any memory test
When a PC starts acting up, it’s tempting to jump straight into a memory test, but a few fast checks can save time and prevent false results. First, undo anything that pushes the system harder than stock: disable XMP/EXPO in BIOS/UEFI, remove any CPU or GPU overclock, and if you recently changed RAM timings or voltage, revert to “Auto.” Unstable settings can look exactly like bad sticks, and they can also make a good kit fail a stress test.
Then handle the basics: fully shut down, unplug power (and the laptop battery if removable), and reseat the RAM so both latches click. If you can, move modules so they’re in the recommended paired slots (often A2/B2). Also check for obvious heat and dust issues, because high temps can turn a marginal setup into a crashy one. The practical downside is that opening a small-form PC or laptop may require tools and can risk warranty seals, so don’t force it.
Run Windows Memory Diagnostic the right way
Windows Memory Diagnostic is a good first pass because it’s built in and runs outside of your normal desktop session. Open the Start menu and type “Windows Memory Diagnostic,” then choose “Restart now and check for problems.” Save your work first; the PC will reboot and you won’t be able to use it during the test. If the machine is very unstable, disconnect unnecessary USB devices and leave it plugged into reliable power so a random shutdown doesn’t muddy the results.
When the blue test screen appears, press F1 to switch from the default “Standard” to “Extended,” which catches more issues but can take a long time on systems with lots of RAM. Let it complete at least one full pass; two is better if you can spare the time. After Windows boots, don’t assume “no pop-up” means “no errors.” Check Event Viewer: Windows Logs > System, then filter for “MemoryDiagnostics-Results” to see whether it detected problems.
Use a bootable test when results are unclear
You’ve probably seen this: Windows Memory Diagnostic reports no problems, but the PC still blue-screens under load, or it reboots halfway through the test. That’s when a bootable memory tester is worth the extra effort. Tools like MemTest86 (or MemTest86+) run from a USB stick before Windows loads, which removes drivers and background software from the equation and often catches errors Windows-side testing misses.
Plan for some downtime. Create the USB on a working PC, boot from it (you may need to tap F12/Esc/Del at startup to pick the USB), and let it run multiple passes—overnight is ideal if symptoms are intermittent. One red error is enough to treat the result as “not stable,” but don’t rush to blame the RAM immediately: a bad motherboard slot, too-aggressive XMP/EXPO, or marginal memory controller can trigger the same failures. The practical downside is time and friction: Secure Boot settings, limited USB ports, or a locked-down office PC can make booting external media harder than it sounds.
If errors show up: isolate the stick, slot, or settings
Once you see errors in any memory test, your job is to find out whether the problem follows a particular module, a particular motherboard slot, or a stability setting. Start by turning off XMP/EXPO again (even if you already did) and load BIOS/UEFI defaults, because aggressive profiles can produce real errors without a physically bad stick. If you have two or more modules, test with one stick installed at a time. Use the same slot each time (typically the primary slot the manual recommends) so you’re only changing one variable.
If stick A fails and stick B passes in the same slot, that strongly points to stick A. If both sticks fail in that slot, move a known “passing” stick to a different slot and repeat. Errors that follow the slot suggest a motherboard issue, bent pins (on some platforms), or debris/poor contact, not the RAM itself. Reseating is worth repeating once, but don’t keep cycling parts endlessly; every swap costs time and increases the chance of static damage or a bent latch. If everything only fails with XMP/EXPO on, the practical fix may be running stock speed, manually lowering the memory speed, or updating BIOS—stable beats fast.
After a fix: prove stability and prevent repeats
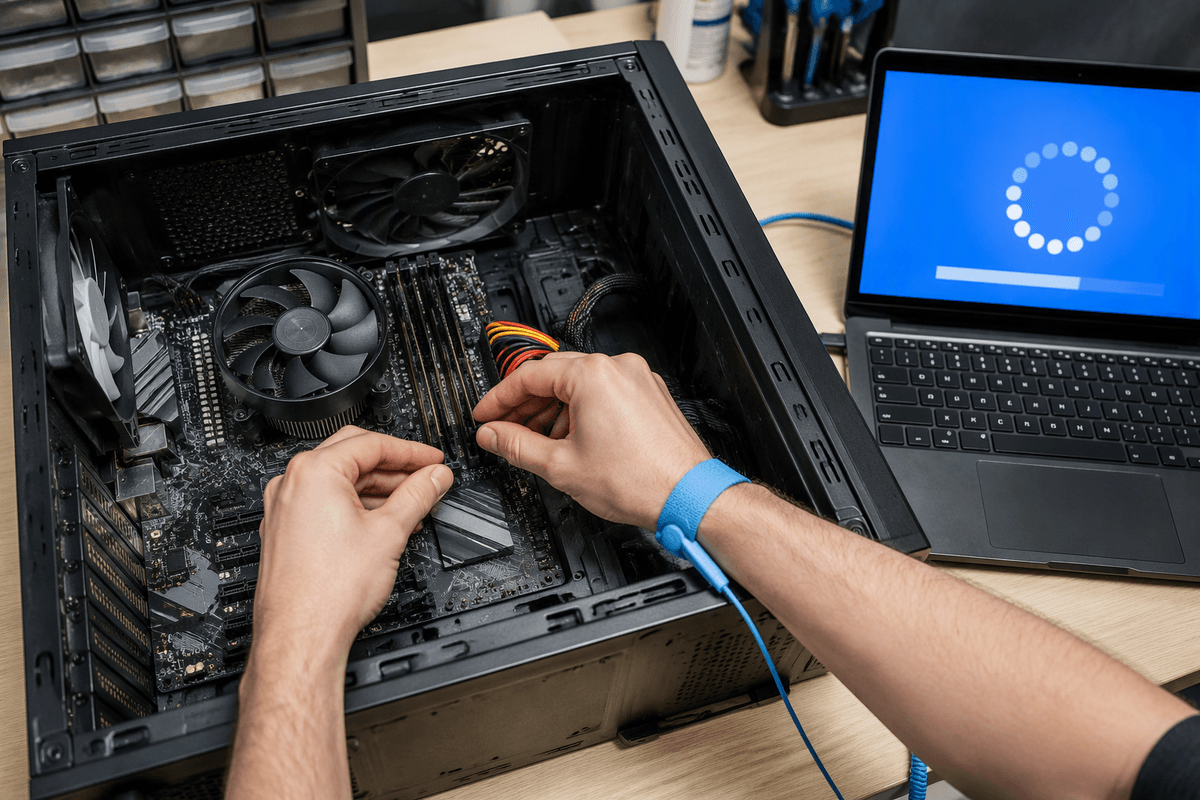
After you reseat, replace a stick, switch slots, or back off XMP/EXPO, treat “it booted” as a starting point, not proof. Run the same memory test again (Extended in Windows Memory Diagnostic, or a few full passes in MemTest86) to confirm you actually removed the errors. Then use the PC the way it normally fails: open your usual apps, run a game, join a video call, or copy a large folder, and watch for freezes or sudden reboots over a day or two.
To prevent repeats, keep the RAM settings conservative, update BIOS/UEFI if you’re chasing XMP/EXPO stability, and make sure airflow and dust aren’t pushing temps up. The real cost here is time: reliable stability testing takes hours, and “quick” overnight runs are often what catch the intermittent faults.
A simple decision path to stop guessing and start fixing
When you’re stuck in “maybe it’s RAM,” use a simple forked path. If crashes started right after enabling XMP/EXPO or overclocking, return to BIOS defaults and retest; stability there usually means settings, not hardware. If Windows Memory Diagnostic (Extended) shows errors, assume “not stable” and move to one-stick-at-a-time testing in one known-good slot. If Windows shows no errors but symptoms continue, run MemTest86 overnight; intermittent faults often need time to reveal themselves. If errors follow a stick, replace it. If errors follow a slot, suspect the motherboard. If everything passes, pivot to storage and drivers.