What you really miss: classes, coaching, or the bike?
Most people say they “miss Peloton,” but they usually miss one of three things: structured classes, a coach in their ear, or a bike that feels consistent every ride. If it’s classes and coaching, you can replicate most of the experience with a subscription and a decent screen, even on a non-Peloton bike. If it’s the bike feel, that’s where cheaper setups can disappoint—light flywheels, vague resistance knobs, and limited fit adjustments can make intervals feel sloppy. Getting clear on which piece you’re chasing prevents spending $800 on hardware when a $13/month app would do.
Choose your base bike: used spin bike, smart trainer, or DIY
The base bike choice usually comes down to what you already own and how “measured” you want your rides to be. A used commercial-style spin bike (look for a heavier flywheel, solid frame, and wide adjustability for saddle and bars) is the simplest way to get that studio feel for the least hassle. You’ll get smooth resistance and quick transitions, but unless it includes a decent cadence sensor (or you add one), your metrics will be mostly perceived effort.
A smart trainer plus a regular road or gravel bike is the most accurate path for power and structured training, because the trainer can report watts directly and control resistance in some apps. The trade-off is noise, tire wear (for wheel-on), and the time cost of mounting/unmounting your bike. The DIY route—budget spin bike plus add-on cadence and heart-rate sensors—sits in the middle: cheaper, flexible, and good enough for Peloton-style intervals, but you’ll still be guessing at “matching” leaderboard power without true power measurement.
Make it feel premium: seat fit, pedals, and handlebars
The “premium” feel usually comes from contact points, not the frame. Start with saddle fit: a too-wide or too-soft seat will make 20 minutes feel longer than it should. Many budget spin bikes use a standard two-rail seat clamp, so you can swap to a saddle you already like; just budget time for small angle and fore/aft tweaks over a few rides. If the bike only has a proprietary post or clamp, upgrades get harder and more expensive.
Pedals are the next big lever. If you want Peloton-style cadence work, clip-in helps you stay smooth at higher RPM, but it adds shoe cost and a learning curve. A dual-sided pedal (SPD on one side, flat cage on the other) keeps the setup flexible for different riders. Finally, handlebar adjustability matters more than “aero” looks. You want enough height and reach range to avoid wrist pressure and numb hands, and a stable spot to mount a phone or tablet without wobble during out-of-saddle efforts.
Rebuild the metrics: cadence, power, heart rate, and tracking
The moment you leave an official Peloton bike, the biggest gap is usually metrics. Cadence is the easiest to rebuild: a simple Bluetooth/ANT+ cadence sensor on the crank arm (or built-in on some spin bikes) gets you RPM that matches the on-screen callouts, which makes intervals feel “tight” instead of guessed. Heart rate is next—an arm band or chest strap pairs reliably with most apps and gives you a consistent effort anchor when resistance feel varies between bikes.
Power is where the experience splits. A smart trainer (or smart bike) can broadcast real watts; a budget spin bike typically cannot, and “power” from a generic resistance knob is often an estimate at best. If leaderboard chasing matters, plan on paying more for true power measurement, or accept you’re riding for coaching cues and personal trends, not one-to-one comparisons.
For tracking, pick one hub (Apple Health, Google Fit, Strava, or a training log) and stick to it. Mixing sensors across apps can work, but troubleshooting dropped connections and battery swaps is the hidden cost of a cheaper setup.
Pick your classes: Peloton Digital vs other platforms
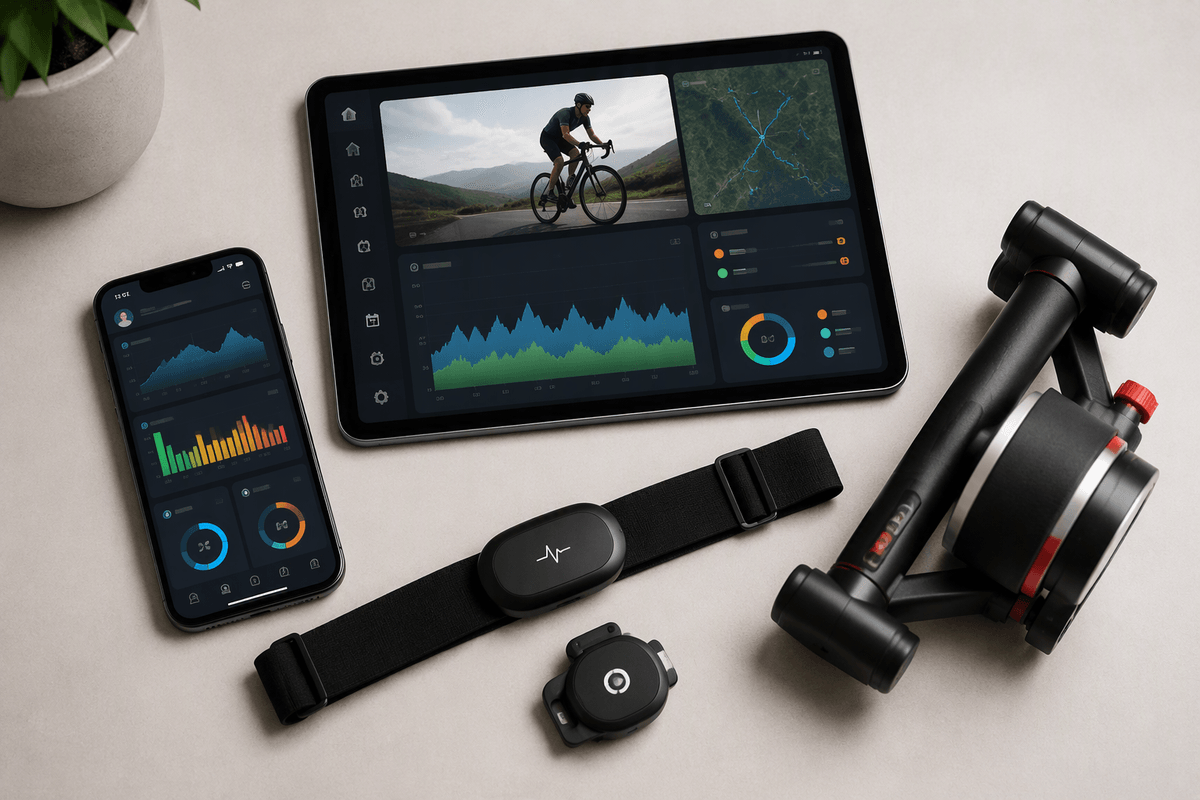
The simplest way to get “Peloton-like” motivation on a non-Peloton bike is Peloton Digital: you’re paying for the coaching style, class library, music-driven pacing, and the familiar cadence/resistance callouts. The catch is that, without a Peloton Bike (or another device that reports real power), you’re mostly riding off cadence plus perceived effort and heart rate. You can still follow the workout, but the leaderboard won’t be a clean apples-to-apples comparison, and power-zone style work is harder to execute precisely unless you have a true power source.
Alternatives usually split into two camps. “Fitness class” platforms (Apple Fitness+, Les Mills+, iFit-style libraries) are great if you want variety and low friction, but they often feel less like a cycling studio culture. “Training” platforms (Zwift, TrainerRoad, Wahoo SYSTM) shine when you have power and want structured progression, but they can feel less entertaining and assume you’ll tolerate setup time, pairing quirks, and occasional subscription stacking.
Set up your “studio” at home: screen, audio, and space
The “studio” feel is mostly screen placement and audio, not branding. Put your screen at eye level (not down by the bars) so you’re not craning your neck during long seated blocks. A tablet on a sturdy mount works, but wobble is the tell—if you sprint out of the saddle and the screen shakes, you’ll ride more cautiously than you should. A small TV in front of the bike is often the best value, but budget for an HDMI adapter or casting device, plus a way to control volume without fumbling mid-interval.
Audio is where motivation either clicks or fades. Bluetooth earbuds are convenient, but sweat and connection drops are real; a cheap soundbar or powered speaker is less finicky and keeps cues clear when you’re breathing hard. Give yourself just enough space to stand and rock the bike slightly without hitting a wall, and add a mat for sweat, vibration, and floor protection—skipping it is how “budget” setups get expensive later.
A realistic starter plan and the mistakes to avoid
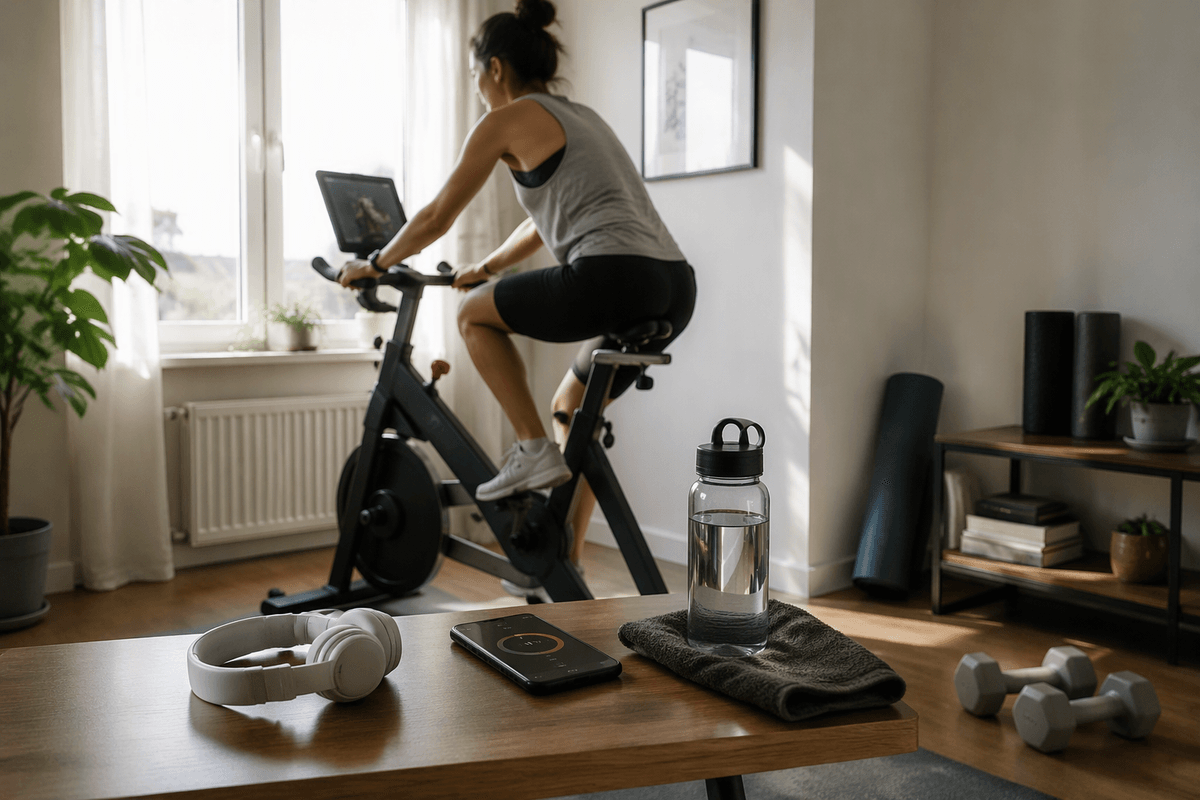
A workable starter plan is simple: ride three days a week for 20–30 minutes, with one “easy” music ride, one intervals/HIIT-style class, and one longer endurance ride you can finish without grinding. Put two short strength sessions on non-ride days (10–20 minutes) and treat them as posture insurance, not a separate sport. Use cadence plus heart rate as your guardrails: match the RPM cues, then adjust resistance until your breathing matches the coach’s intent. If you can’t recover between efforts, your “moderate” days are too hard.
The common mistakes are buying upgrades before you’ve fixed fit, chasing leaderboard power without a true power source, and stacking too many subscriptions. The other budget killer is inconsistency: a $300 bike you ride for 12 weeks beats a $1,200 setup that becomes a coat rack because pairing sensors and casting audio feels like a chore.
The bottom line: best “Peloton-like” experience per dollar
If you want the best “Peloton-like” experience per dollar, optimize for consistency: a sturdy used spin bike with a heavy flywheel, a crank cadence sensor, and a reliable heart-rate strap, plus Peloton Digital (or a comparable class app) on a stable TV/tablet setup. That combination nails the coaching, pacing, and “studio” feel without paying for built-in hardware you may not use.
Spend extra only when the limitation actually bothers you. True power (smart trainer/smart bike) is the big upgrade for precise training and meaningful comparisons, but it costs more up front and usually adds setup friction. Most riders get 80–90% of the experience from fit, audio, and cadence/HR—then decide if watts are worth it.