Set expectations before you touch their Wi‑Fi
The fastest way to turn a simple Echo setup into a long support project is to treat their Wi‑Fi like it’s “just a password.” Before you open the Alexa app, ask two practical questions: do they know the network name and password, and can they log into the account that pays the internet bill if something needs a reset? If the router uses “band steering” or separate 2.4GHz and 5GHz names, note it now—many smart devices behave better on 2.4GHz.
Also set a small boundary: you’re helping them get it working today, but you’re not becoming their permanent remote admin. Agree on a time window, decide whether you’re allowed to write down the Wi‑Fi password (or if they’ll type it), and confirm where the Echo will live so you’re not troubleshooting weak signal later. Five minutes of expectation-setting saves hours of “it stopped working” calls.
Choose the right Echo and the right room
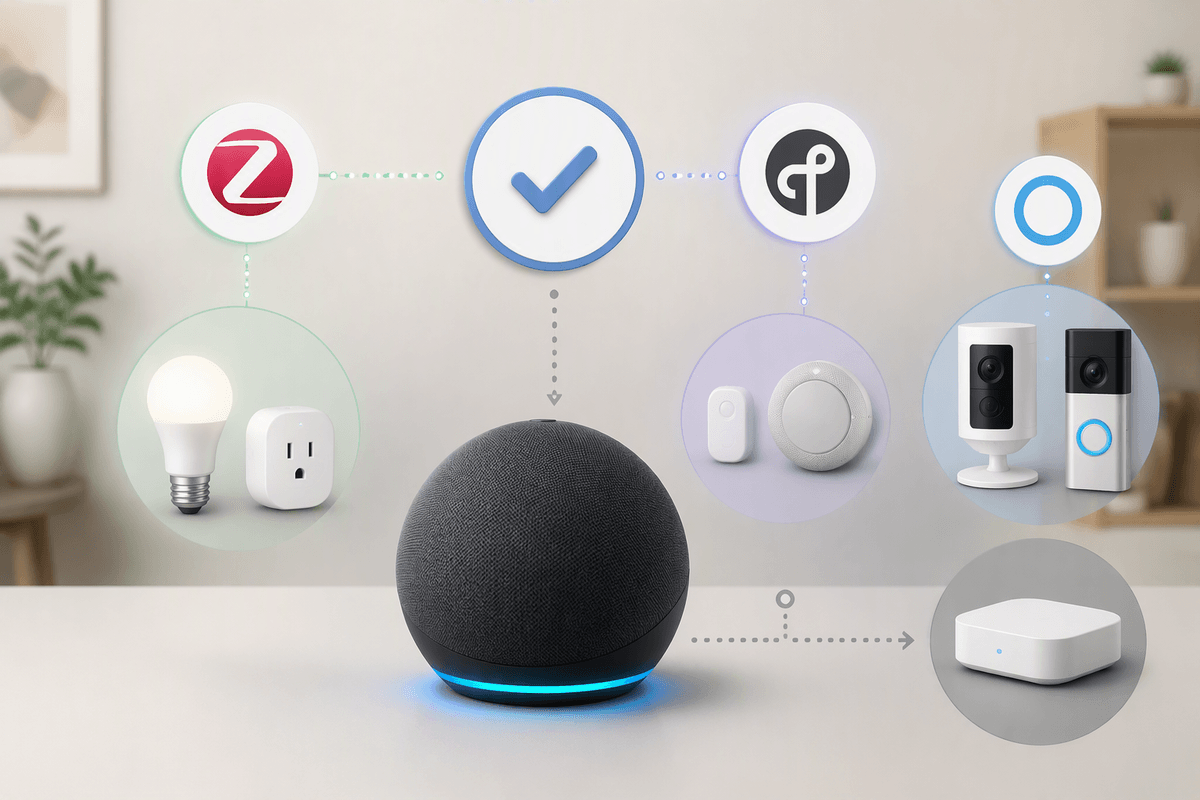
You’ll save yourself trouble by matching the device to how they actually live. If they mostly want voice timers, weather, and music, an Echo Dot is usually enough. If they have hearing issues, a full-size Echo tends to sound clearer at lower volumes, and a model with a screen can reduce “what did it hear?” confusion by showing the request. If they’re excited about smart home gear, check whether they already have Zigbee/Thread devices or a Ring system before you buy, because “works with Alexa” isn’t always the same as “works without extra hubs.”
Room choice matters more than people expect. Put it where they naturally talk—kitchen or living room—away from the TV speakers and not tucked in a corner. Plan for a power outlet, decent Wi‑Fi, and a spot that won’t get unplugged to run the vacuum. If the only good location is far from the router, budgeting for a mesh node can be cheaper than repeat visits.
Decide whose Amazon account should own the device
The cleanest setup is usually: the Echo lives on their Amazon account, in their Alexa app, on their Wi‑Fi. That keeps voice history, contacts, calendars, and “who can buy what” tied to the person using it, and it prevents your shopping cart, addresses, and smart-home devices from bleeding into their day-to-day. It also means if you stop helping, the device still belongs to them without a painful reset.
There are two common exceptions. If they don’t have (or can’t reliably access) an Amazon login, you can temporarily set it up on your account, but treat it as a bridge plan and schedule a handoff date—otherwise you become the permanent owner of every setting change. If you’re gifting it and want to share Prime or digital purchases, look at Amazon Household instead of signing them into your account; sharing benefits is easier than untangling ownership later, and the trade-off is a bit of upfront account work.
Handle credentials and privacy without making it awkward
A lot of the awkwardness comes from typing passwords in front of someone, so make it normal and procedural. Ask them to sign into their Amazon account in the Alexa app themselves if possible, even if you’re the one holding the phone. If they use a password manager, have them unlock it and read the password to you or paste it in. If they don’t, let them type and you just call out what screen comes next. It takes longer, but it keeps you out of the “I know your login” role.
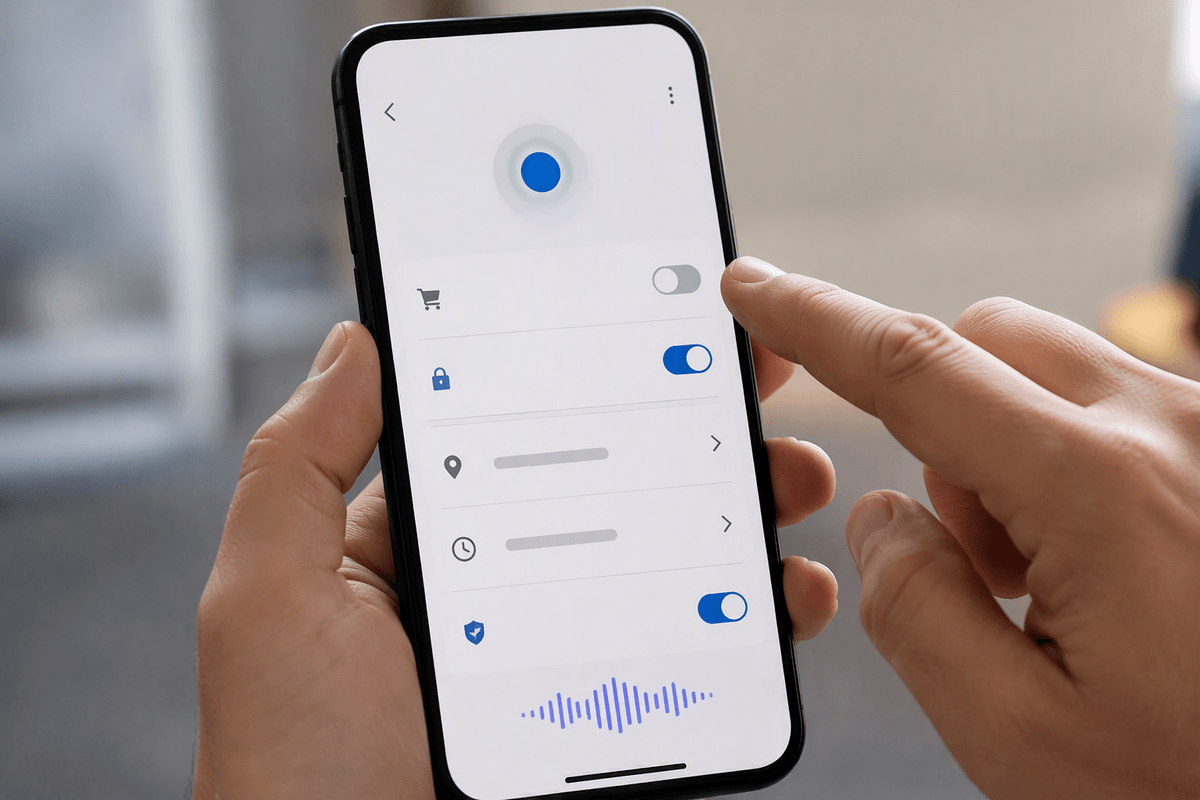
Then do a quick privacy pass while you’re already in settings. Turn off voice purchasing (or at least add a voice code), confirm the device location and time zone, and show them where to find and delete voice recordings. Also check Drop In and calling: enable it only for the people they actually want, otherwise the first surprise “it just started talking” moment becomes your problem later.
Do the setup step-by-step in the Alexa app
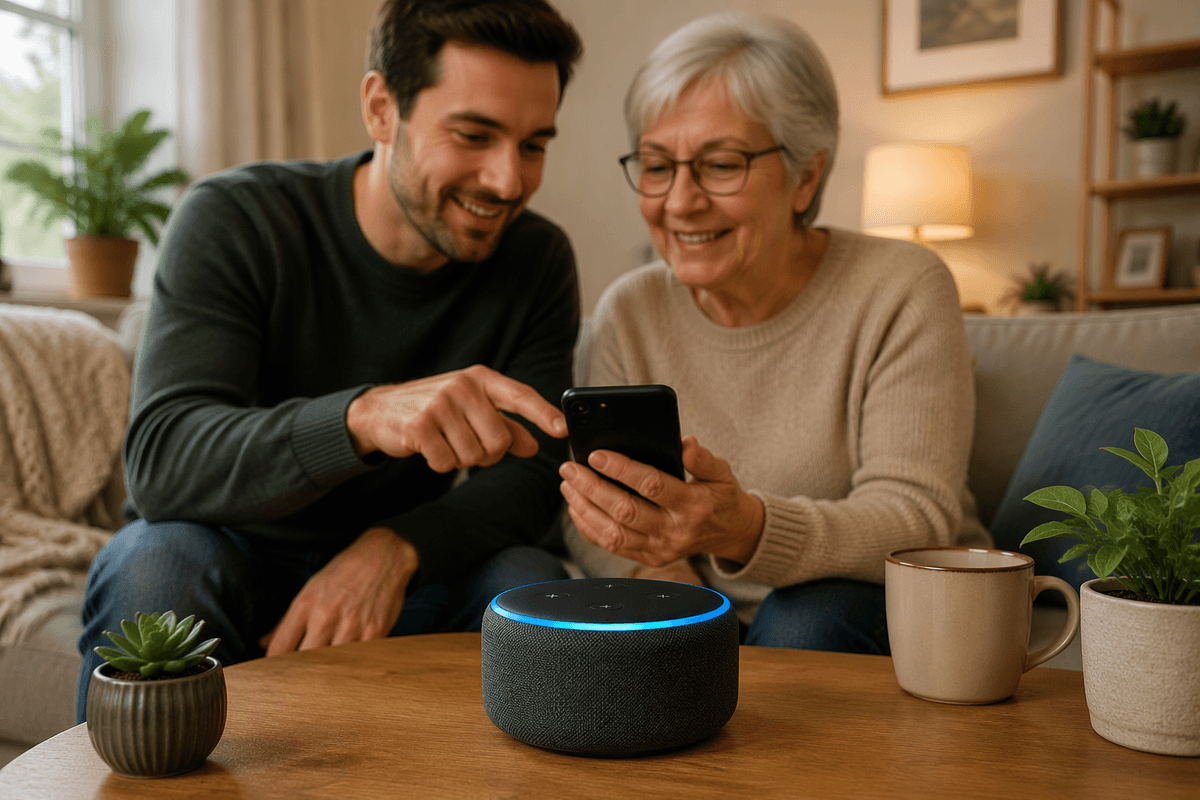
Put the Echo into setup mode (orange light ring, or hold the Action button until it turns orange), then open the Alexa app on their phone. Use their phone if you can; if you set it up from yours, you’ll end up being the default “person who manages it,” and you’ll get dragged into every change later. In the app, go to Devices, tap the plus, choose Add Device, then Amazon Echo, and pick the model. When it asks to connect to the Echo’s temporary Wi‑Fi, accept that prompt, then send it onto their home network. If their router has separate 2.4GHz and 5GHz names, choose the one you planned for; if the app stalls, backing out and rejoining that network is often faster than waiting.
Once it’s online, do the boring-but-important basics before you leave the screen: confirm the device room name, address (for weather and local info), and time zone. Run a quick sound check by setting volume to a comfortable level and testing a simple request. If it’s an Echo Show, turn on the onscreen clock and make sure the display brightness isn’t blinding at night. Expect one practical slowdown: app permissions (Bluetooth, contacts, notifications) will pop up, and saying “allow only what you’ll use” keeps things tidy without turning the setup into a debate.
Make it usable for them on day one
The difference between “it’s set up” and “they’ll actually use it” is a handful of defaults. Start by teaching three anchor commands they’ll remember: “Alexa, volume 4,” “Alexa, stop,” and “Alexa, set a timer for 10 minutes.” Then set their preferred music service in Alexa settings and do one successful play request together, because a “you need to link a provider” prompt on day two becomes your support call. If they’ll make calls, enable calling and messaging, verify their mobile number, and add just 2–3 key contacts as Favorites so they can say “call Susan” without hunting.
Make the home screen and routines practical, not fancy. Create a simple “Good morning” routine that reads weather and calendar, and a “Good night” routine that sets volume lower and turns off lights if they have any. Turn on Adaptive Volume or disable brief mode depending on what helps their hearing. One real constraint: every extra skill, smart device, or routine increases “why did it do that?” moments, so keep the first day intentionally minimal.
Reduce future support calls with a handoff checklist
Before you leave, do a quick handoff like you would for any other “installed thing.” Write down (or text them) the device name, the room it’s assigned to, the Wi‑Fi network it’s on, and which Amazon account owns it. In the Alexa app on their phone, show them where to change Wi‑Fi, where to re-run device setup, and where to see connected services (music, calling). Turn on automatic software updates, then create one “fallback” routine like “Alexa, help” that simply says the three commands that solve most problems: “stop,” “volume,” and “restart.” The small cost is ten extra minutes now, instead of repeat visits later.